Guest Post: Photo Editing Tips for Better Slideshows

Guest post by Christopher Lin, a photographer based in Los Angeles, CA, and co-founder of SLR Lounge.
Photo slideshows have come a long way since the days of the old slide projector. Their ability to bring friends and family together while sharing fond memories will never decrease, but they now have more uses than ever before. Today, slideshows serve equally well as powerful marketing tools for photographers to build leads and increase revenue. The best part is, they’re easy to create. With user-friendly software like SmartSlides, you can quickly put together impactful slideshows to share as same-day edits for weddings and events, or use them to open consultations for selling prints, albums, and wall art.
To ensure that your slideshows effectively promotes your business, we’ve put together several quick and easy photo editing tips. From culling to exporting images, the editing process can make all the difference in creating a stellar slideshow. We recommend following these tips and making them a regular part of your sales workflow. Your business will thank you for it.
Tip 1. Cull for Story
Choosing the best images for a slideshow is an underrated but crucial step in the editing process. You’ll need to select images that narrate the story of whatever occasion you’re covering, be it a wedding, birthday party, or large corporate event. Like every great story, your slideshow should include a beginning, middle, and end, plus cover multiple focal lengths, including wide, medium, and closeup angles.
Don’t forget to include images of decor details, like floral arrangements, food, and lighting. These elements are especially important for networking with other vendors whose services are highlighted when your clients share their slideshow with their family and friends.
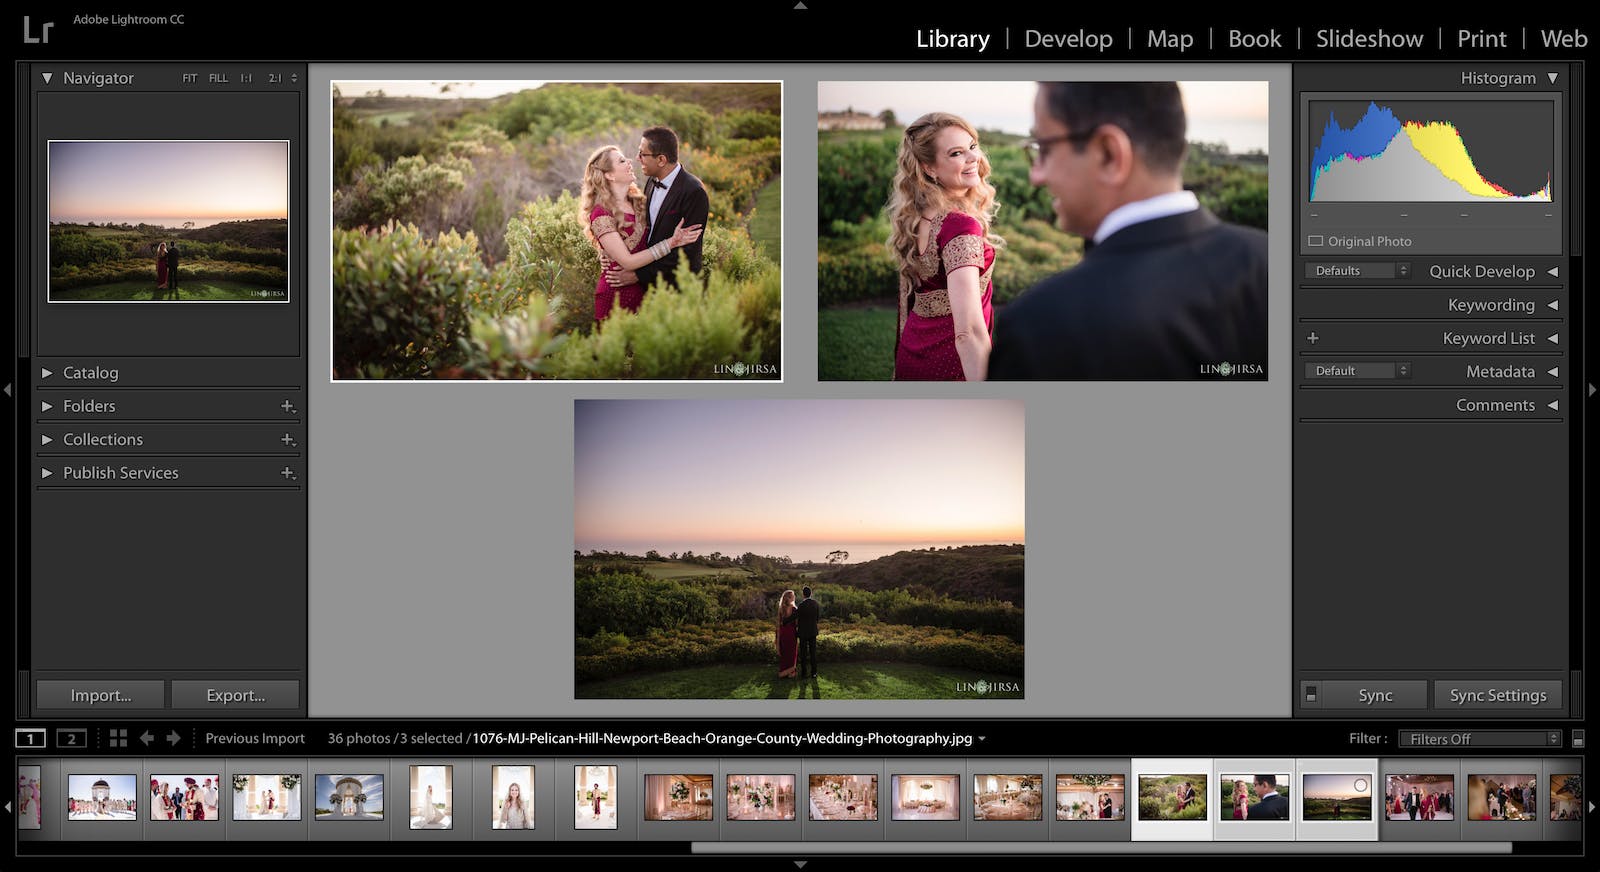
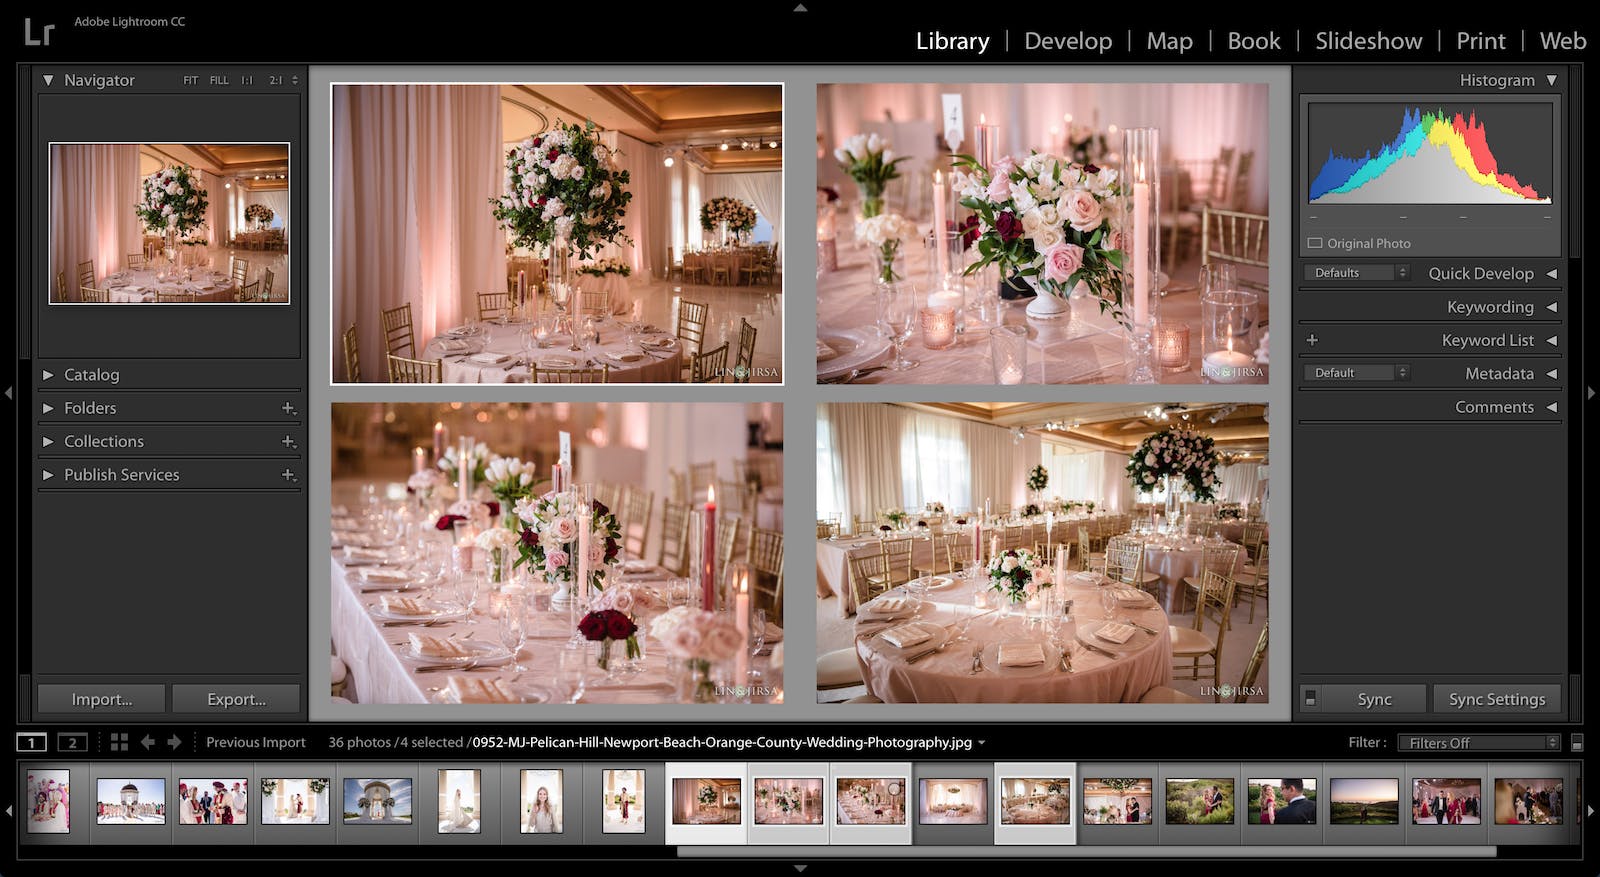
Tip 2. Use an Efficient Culling Method

Images by Lin & Jirsa Photography
It shouldn't take more than 8-10 minutes to cull a fresh session since you likely already know which images will be the most impactful. Here are some additional tips to help perfect the culling process:
- Use a flag system to cull so that you can quickly identify and export the keepers. You can find more information here on three common culling methods in Lightroom.
- Always cull from the Library module as the Develop module renders a different type of previews that load much more slowly.
- Use Auto Advance (Photo > Auto Advance) to help speed up the culling process. With this feature selected, the next consecutive image automatically loads after you've flagged an image.
- Don't overload the slide show with too many images (100-150 images).
- If you already have a song picked out, divide the number of seconds of the song by 1.5; this will let you know approximately how many images to include. Alternatively, each of the licensed songs within SmartSlides indicates two Beat-Matching targets — Slow & Uptempo. These targets let you know how many photos you'll need to include to match to that song.
Tip 3. Edit Consistently with Presets
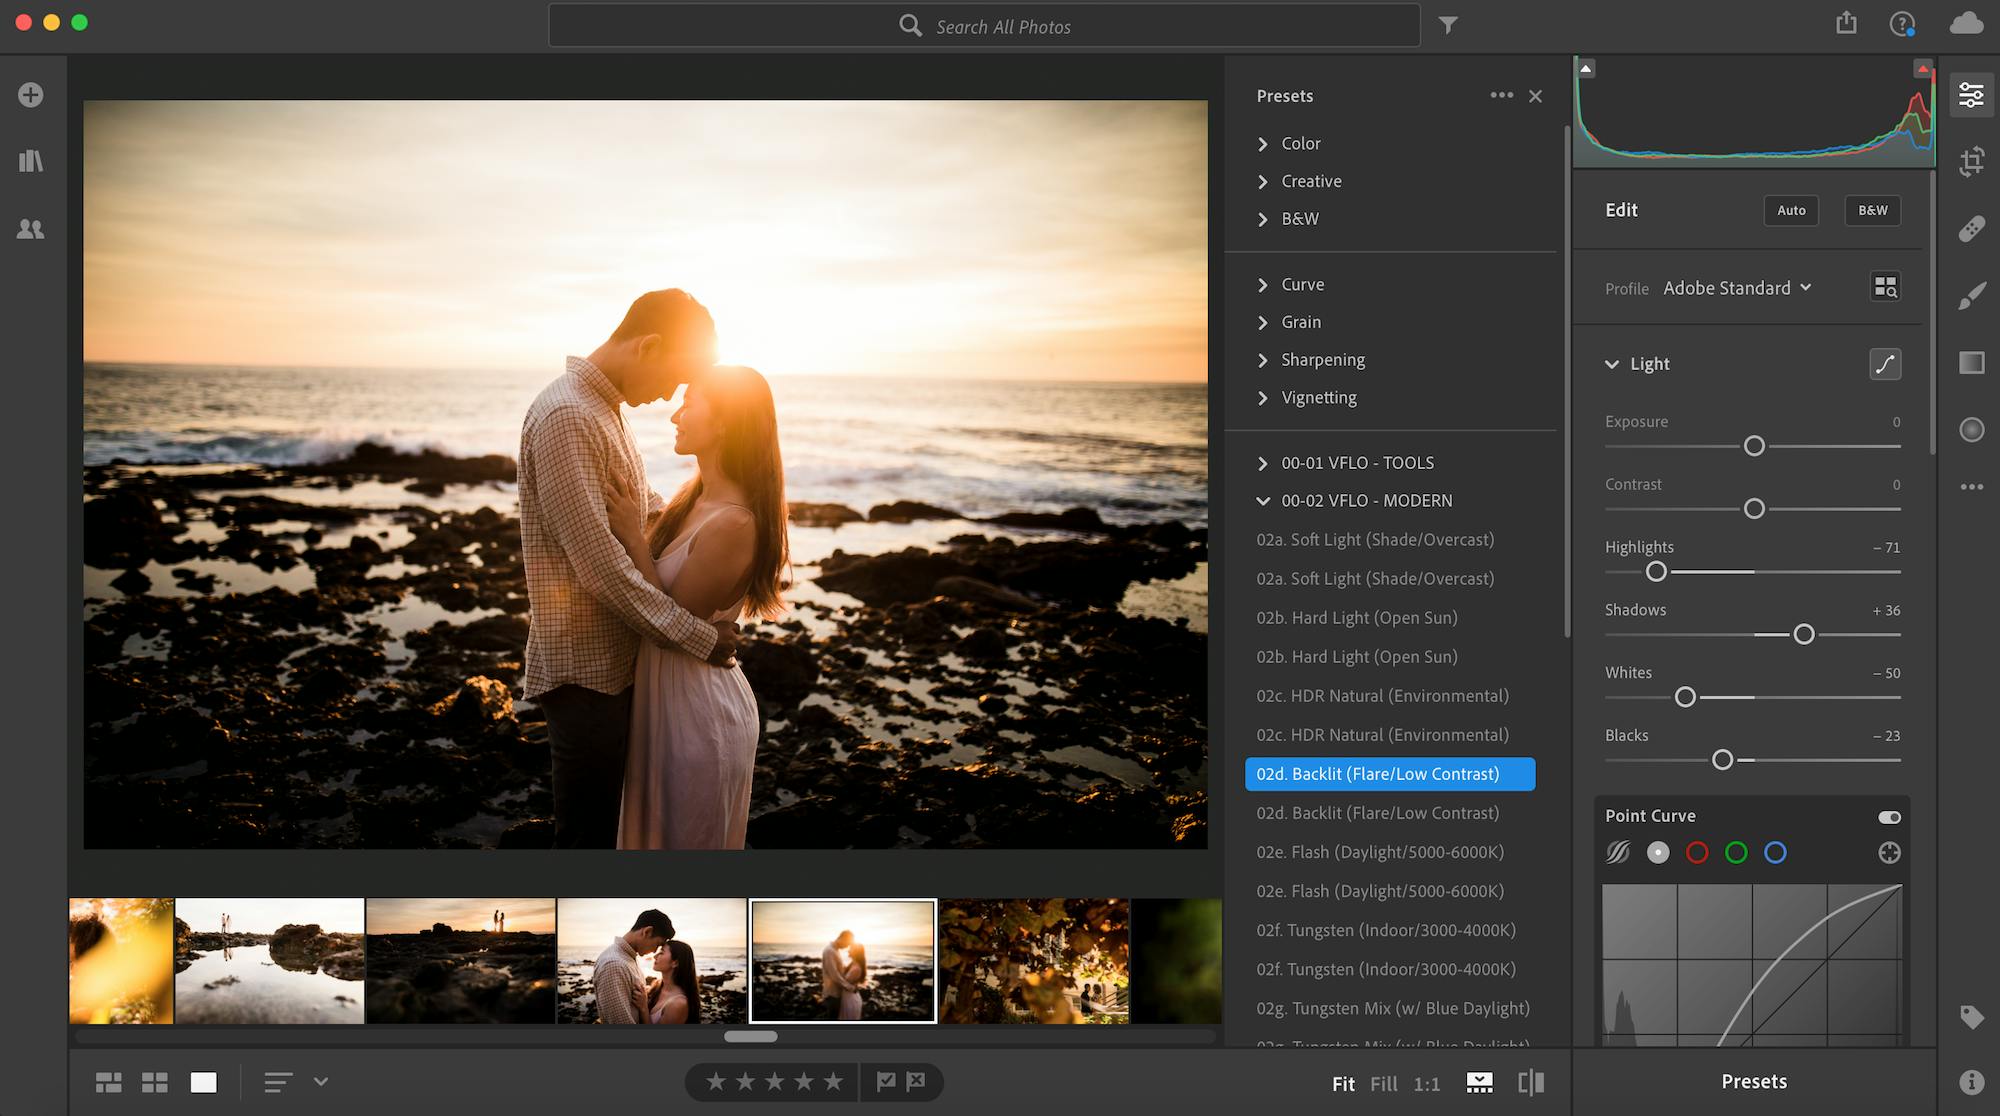
Slideshows offer photographers a great opportunity to put their best foot forward. You already spent the time choosing the best photos. Now, it’s time to beautify your images with quality, consistent edits. Presets allow you to create a cohesive look quickly and easily. Some preset packs, like those offered by Visual Flow, can help you produce a finished look with just a couple of clicks — even across photos captured in different lighting conditions. Presets can help your photos look consistently beautiful from the first slide to the last.
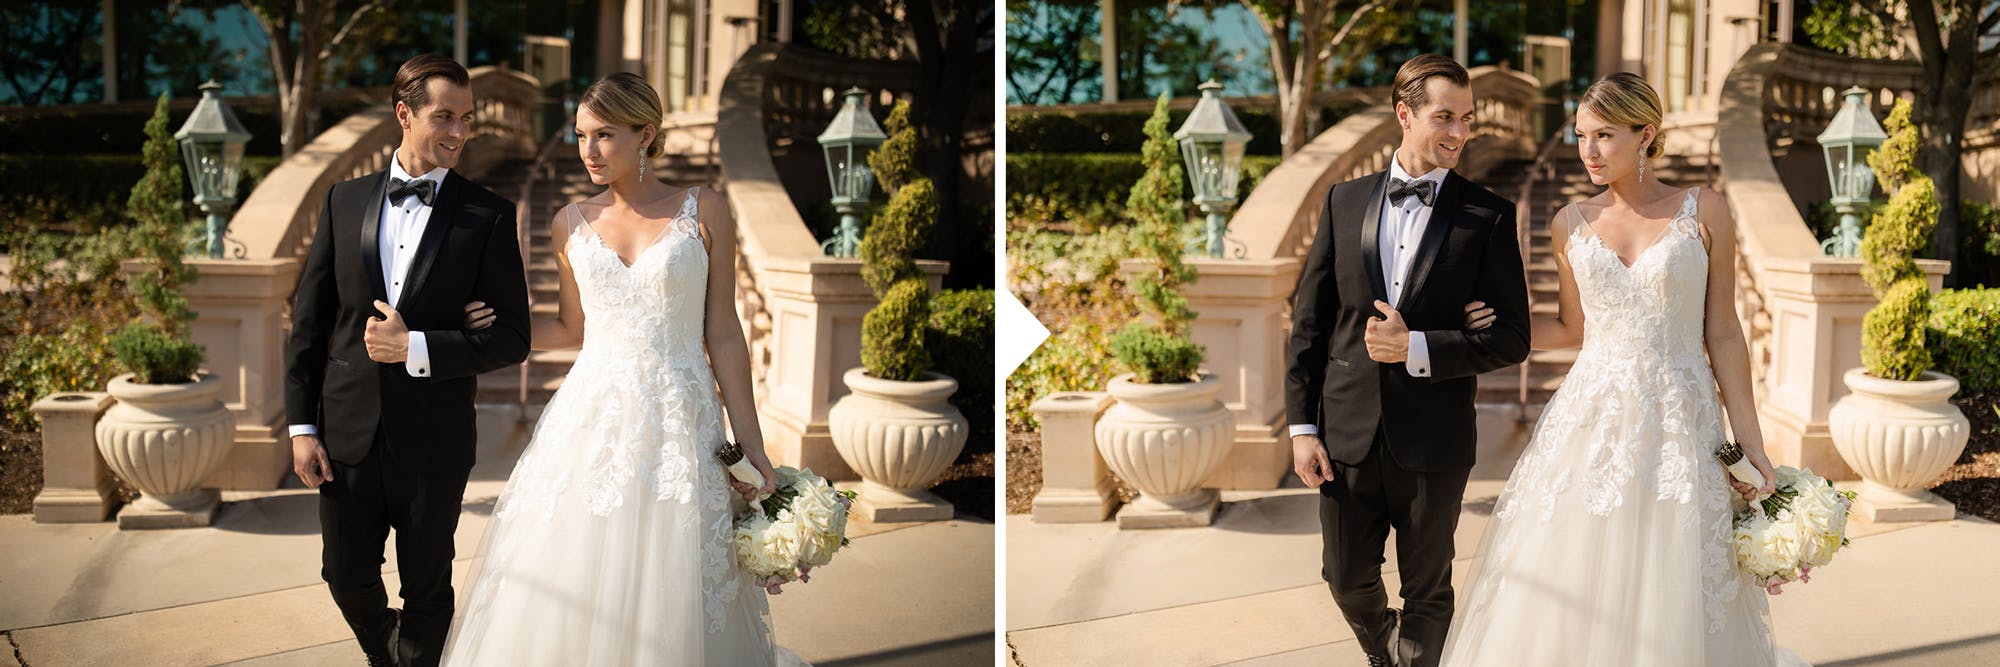
Before and after edited with one click using Visual Flow > Modern Pack > Hard Light
Tip 4. Export for Slideshow
Once you've edited your photos, you'll need to export them to begin creating your slideshow. Ensuring your exported images meet the technical requirements for your slideshow before you hit export can save yourself valuable time and streamline your workflow. SmartSlides recommends an image width of 2200 pixels.
Once you've selected the appropriate settings, export your photos into a folder that's easily accessible so that you can quickly drop them into your slideshow.
Tip 5. Organize your Images
![]()
Images by Line and Roots
The order that you choose to display your photos within the slideshow can make a big difference to how your clients view it as a whole. Think about telling a story. Use the natural highs and quiet moments of the wedding or event to draw the viewer in, emotionally leading them from one image to the next.
Here are some guidelines to consider during this part of the slideshow process:
- Set the Scene: This goes back to the storytelling format we mentioned earlier when discussing how to cull images. Establish the scene with wider angles (maybe of the venue) and then work your way into tighter shots, revealing your subjects and capturing great expressions.
- Follow the Timeline, Mostly: You don’t want to throw everyone off and start with a night shot if the event began in the morning. You can stray from the timeline under certain circumstances, such as mixing up candids when it isn’t clear when the image was taken, but for the most part, stick to the timeline.
- End with a Dramatic or Fun Shot (and Your Logo): You want the last image to leave a positive lasting impression, so choose one everyone will enjoy and remember. This could be a large group photo or a beautiful night shot of the bride and groom. Lastly, use the final slide to feature your logo marking a clear end to the slideshow.
Tip 6. Share Your Slideshow
It may not be an editing tip, but sharing your slideshow is a key part of the process. SmartSlides offers three options for exporting your slideshow: a link to send directly to clients, an embed code for your blog or website, and a download option to share via social media. Choose a method (or two or three) and follow through with sharing the slideshow online, both on your website and social media platforms. The sooner you’re able to do this after an event, the more sharing power it will have, which is why it’s crucial to optimize your editing workflow for slideshows.
_____
A perfectly crafted slideshow can help your clients (and potential clients) emotionally connect with your photos. It’s your opportunity to demonstrate your skill across multiple images and highlight your ability to tell a beautiful story. It’s well worth taking the time to set up a workflow that suits you — you’ll be able to generate more slideshows in less time, which is great for you, your business, and your clients.


